
This is from a series of notes recovered from a broken instance of a note taking application I used in 2015. I had learned Vagrant and Puppet on the flight to Kansas City, and prepared a proof of concept. These are the notes resulting from the flight.
In retrospect, I had no idea the expectation is the vagrantfile should be customized to fit our environment. Similarly, Dockerfiles generally require modification to fit into our environments. The custom now is trending toward using Vagrant for proof of concept, and moving forward with Terraform.
Reasoning from the previous post, I could understand authentication to the environment, but I did not understand the configuration changes required to connect to the box. Installing SSH helps. https://www.youtube.com/watch?v=d3KG18SoUZI was a valuable video.
I came to realize 2 critical things.
1. The network interface I want to bridge must be named explicitly.
2. The IP address for the vagrant vm guest must be specified.
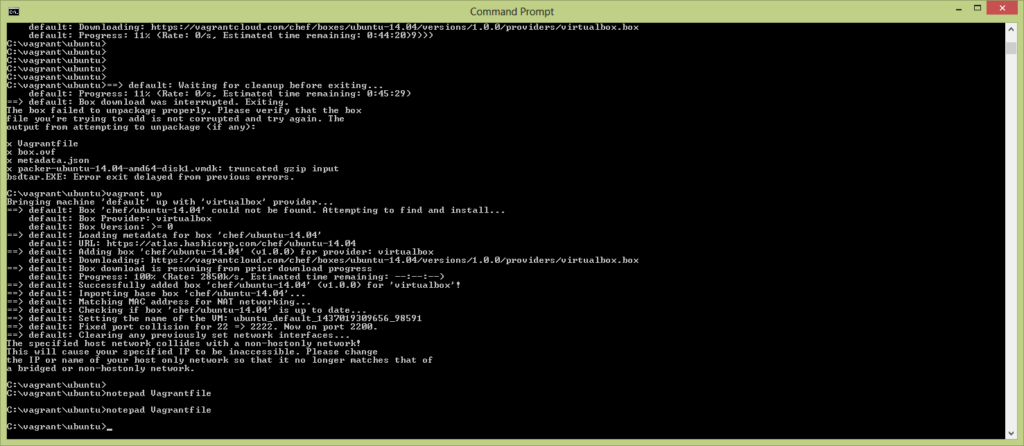
Where do we make these changes? This is a really good question. Until now, I expected to be wrangling miles of configuration files, and in this case, so far it’s not so. Back in the first steps document, I created a dir, and a git repo from that dir, and I added a vagrantFile to the directory. This document, on like line 29, is the configuration information for the local network interface, all neatly commented out. You can guess what’s next, uncomment and hack to desired consistency, and vagrant up!
To satisfy requirement 1 from above, we will need to find the name of the interface that we want vagrant to sit on. In this case, it’s everything to the right of the name field, “Realtek PCIe GBE Family Controller” which I could have learned from the simple command ipconfig, or ifconfig, but running vboxmanage list bridgedifs is much more better.
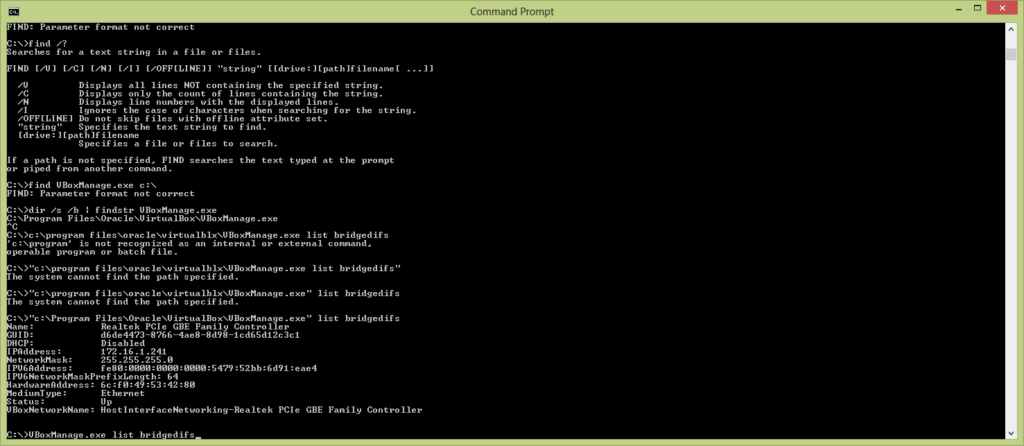
With that data, plus an idea of the ip scheme, we can write out changes to the file, in this case line 29 – we simply removed the # from the front of the line to uncomment it, and then added the bridge specification and an appropriate, unused IP address to bind to.
# Create a private network, which allows host-only access to the machine
# using a specific IP.
config.vm.network “private_network”, :bridge => “Realtek PCIe GBE Family Controller”, ip: “172.16.1.18”
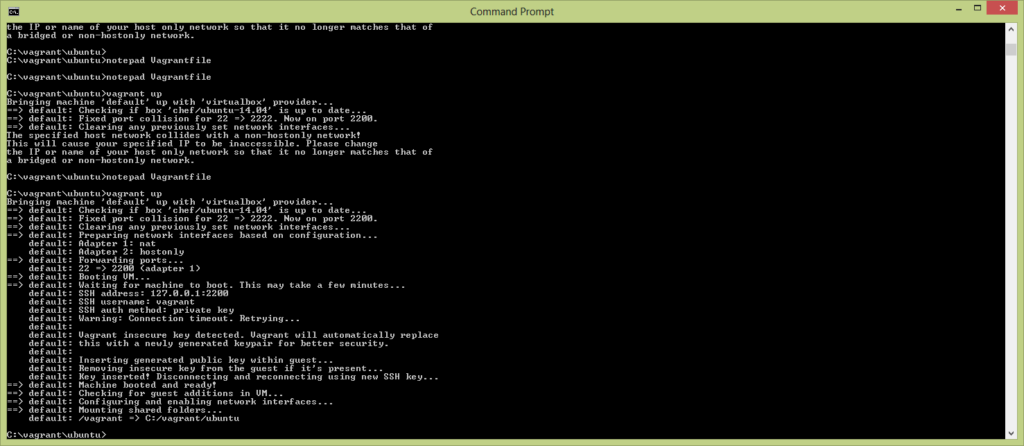
Write out the file in the way that you prefer, and vagrant up again… OR NOT. That had the opposite effect of further pissing it off. I removed the bridge declaration, and specified an IP that is not on a network adapter locally. Started up!
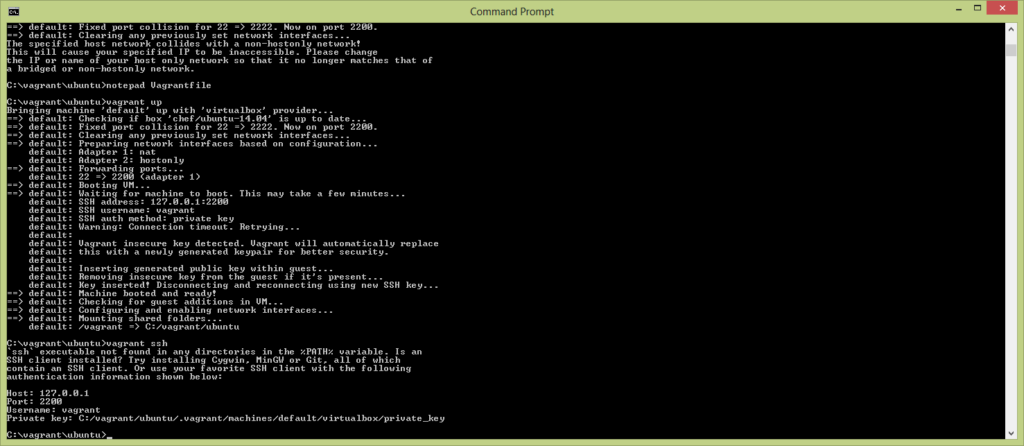
Now we have the vagrant VM stood up. Let’s start by logging into the server, using putty. As you can see, my poor windows box does not have an ssh client installed.
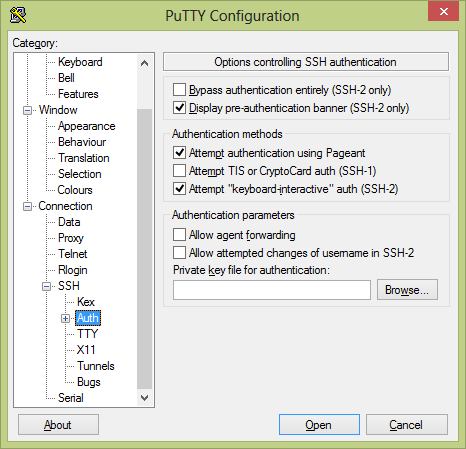
To do this, we must launch putty, and at the left, expand Connection, SSH, and select Auth:
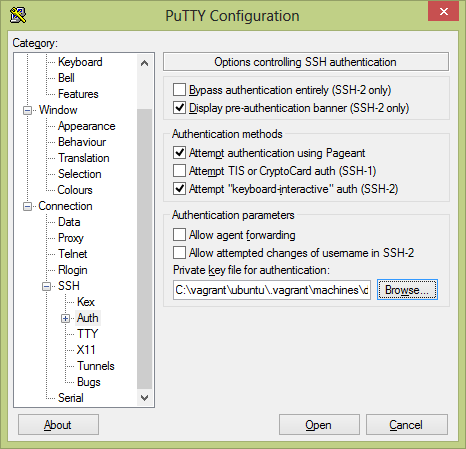
Click browse and specify the path to the key file as described by vagrant, in this instance C:/vagrant/ubuntu/.vagrant/machines/default/virtualbox/private_key:
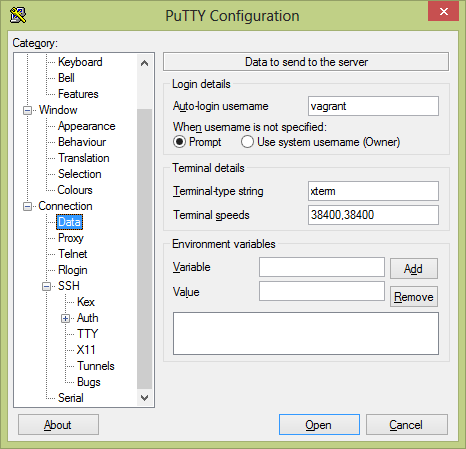
Now we must specify the username vagrant by expanding Connection and clicking Data:
Finally, return to the session tab, and add the IP address and port. Type a name under Saved Sessions, and click Save.
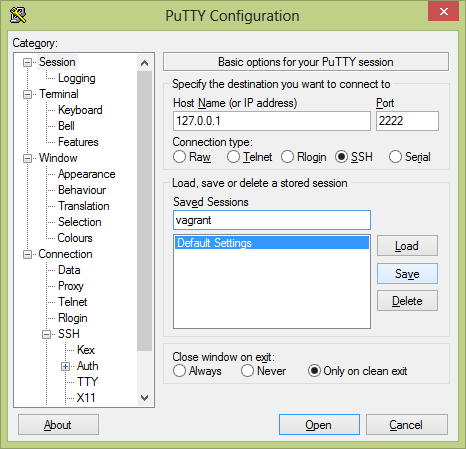
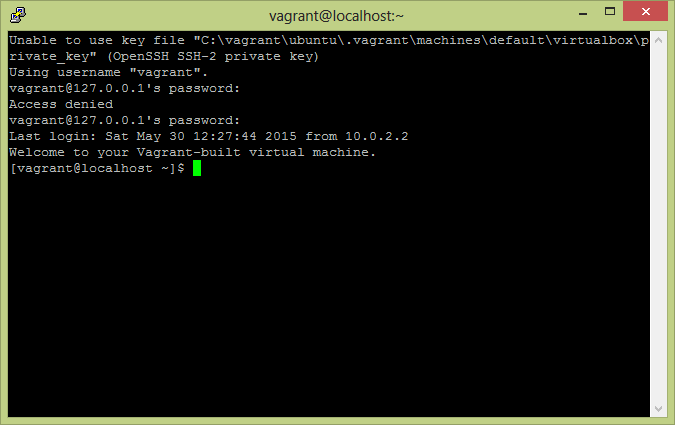
Finally, click Open. Enter the password vagrant to login to the machine. i’m so new I continue to mistype the name as Vagarant, which is plainly wrong. I’m writing this on a plane.
So this takes us full circle! In this way, vagrant only provides a platform to work from, an identical dev-build box so to speak.